20220711

Wow I finally found my blogg again :-)


Hej allihop jag har verkligen inte varit aktiv här men självklart har jag pysslat vidare. Jag ska försöka bli bättre på att gör inlägg här i bloggen och försöka göra dem informativa. Hur som har jag alla fall under veckan skapat två födelsedagskort. Mina två foster barnbarn fyllde år under veckan, Tyler fyllde 5 och Jason fyllde 2, de fyller dagarna efter varandra vilket är lite kul. Jason gillar Bolibompa och Tyler älskar Roblox. Självklar ville jag skapa kort kopplat till deras intressen så jag började söka efter inspiration. 

Hello every body I have definitely not been active here on the blog but I have been crafting. I always say I'll try to be more active here in my blog but I will try my best this time. Anyway during this week I have created two birtday cards to my two foster grand kids. They both had there birthdays during this week, they have the birthdays the day after one another. Tyler turned 5 and he loves to play Roblox and Jason turned 2 and he loves to watch Bolibompa. Off course I hade to make cards inspired by there interest so I started looking for inspiration.

Det inte så lätt att hitta handgjorda kort med Bolibompa draken så jag tecknade Bolibompa draken förhand istället. Jag använde en gammal die från Provo Craft Cuttlebug som heter "Birthday" och jag använde den med tre ballonger :-). Tvåan är från mitt favorit stämpel set från Artemino som jag valde att embossa i silver. Jag använde min favorit punch från EK Success "Mini Pennant Set" för att skapa en grattis banner. En vit sytråd fick agera som ballong snöre och banner rep. De små rosetterna knöt jag var för sig och limmade på de fästa ändarna.

It was not an easy task to find hanmade cards with the Bolibompa dragon så I drew one my self instead. I used an old die from Provo Craft Cuttlebug named "Birthday" and I chose the one with the three balloons😊- The number 2 is made with a stamp from my favorit stamp set by Artemio, I embossed the stamp in silver. I used  one off my favorite punches from EK Success "Mini Pennant Set" to create the the happy birthday banner. I used some white yarn as a string for the banner as well as a string for the balloon. I tied two small bows and glued them at the two ends of the banner.


Det var inte lättare att hitta Robloxkort så jag fick klura lite själv och landade på ett pop-up box card. Jag kollade vilket spel Tyler främst spelade och sökte efter bilder från spelet. Sedan laddade jag även ner lite papper som jag tyckte passade bra för Roblox. Efter lite fuzzy cutting, kaffe pinnar och embossing så blev kortet så här:

It was not easer to find any cards for a Roblox card so I hade to figure something out my self and I landed on a pop-up box card. I checked which game Tyler mainly played and then I searched for pictures from that game. I also downloaded som papers I thought would match a Roblox card. After some fuzzy cutting, a few coffee sticks and some dry embossing this is how the card turned out:


Jag har även filmat hur det ser ut när det viks upp:

I have made a video how it looks when the card folds out:

https://youtu.be/BwAMFU6QjFo

Hoppas att ni njuter av sommaren och semestern 😊

I hope you are enjoying the summer and vacation😊

20211206

Ett ”All about me” Pocket Letter

Hej alla underbara läsare och God Jul!
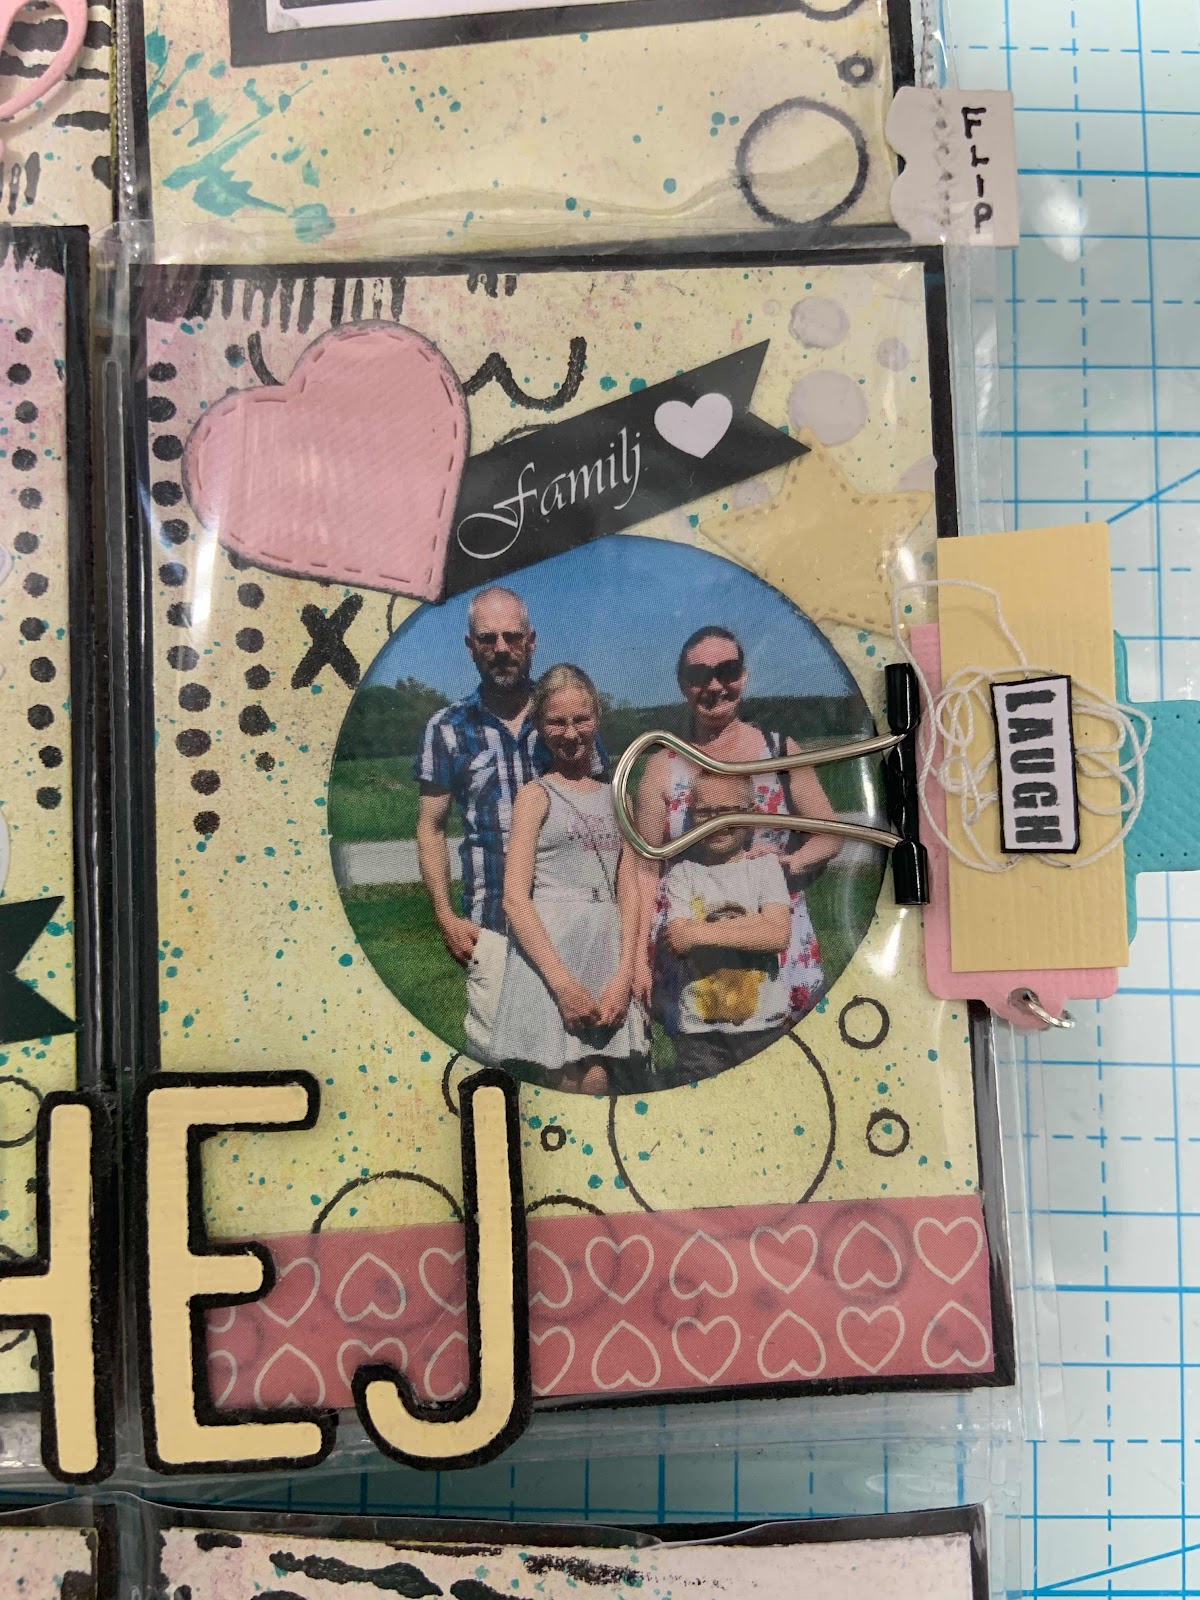
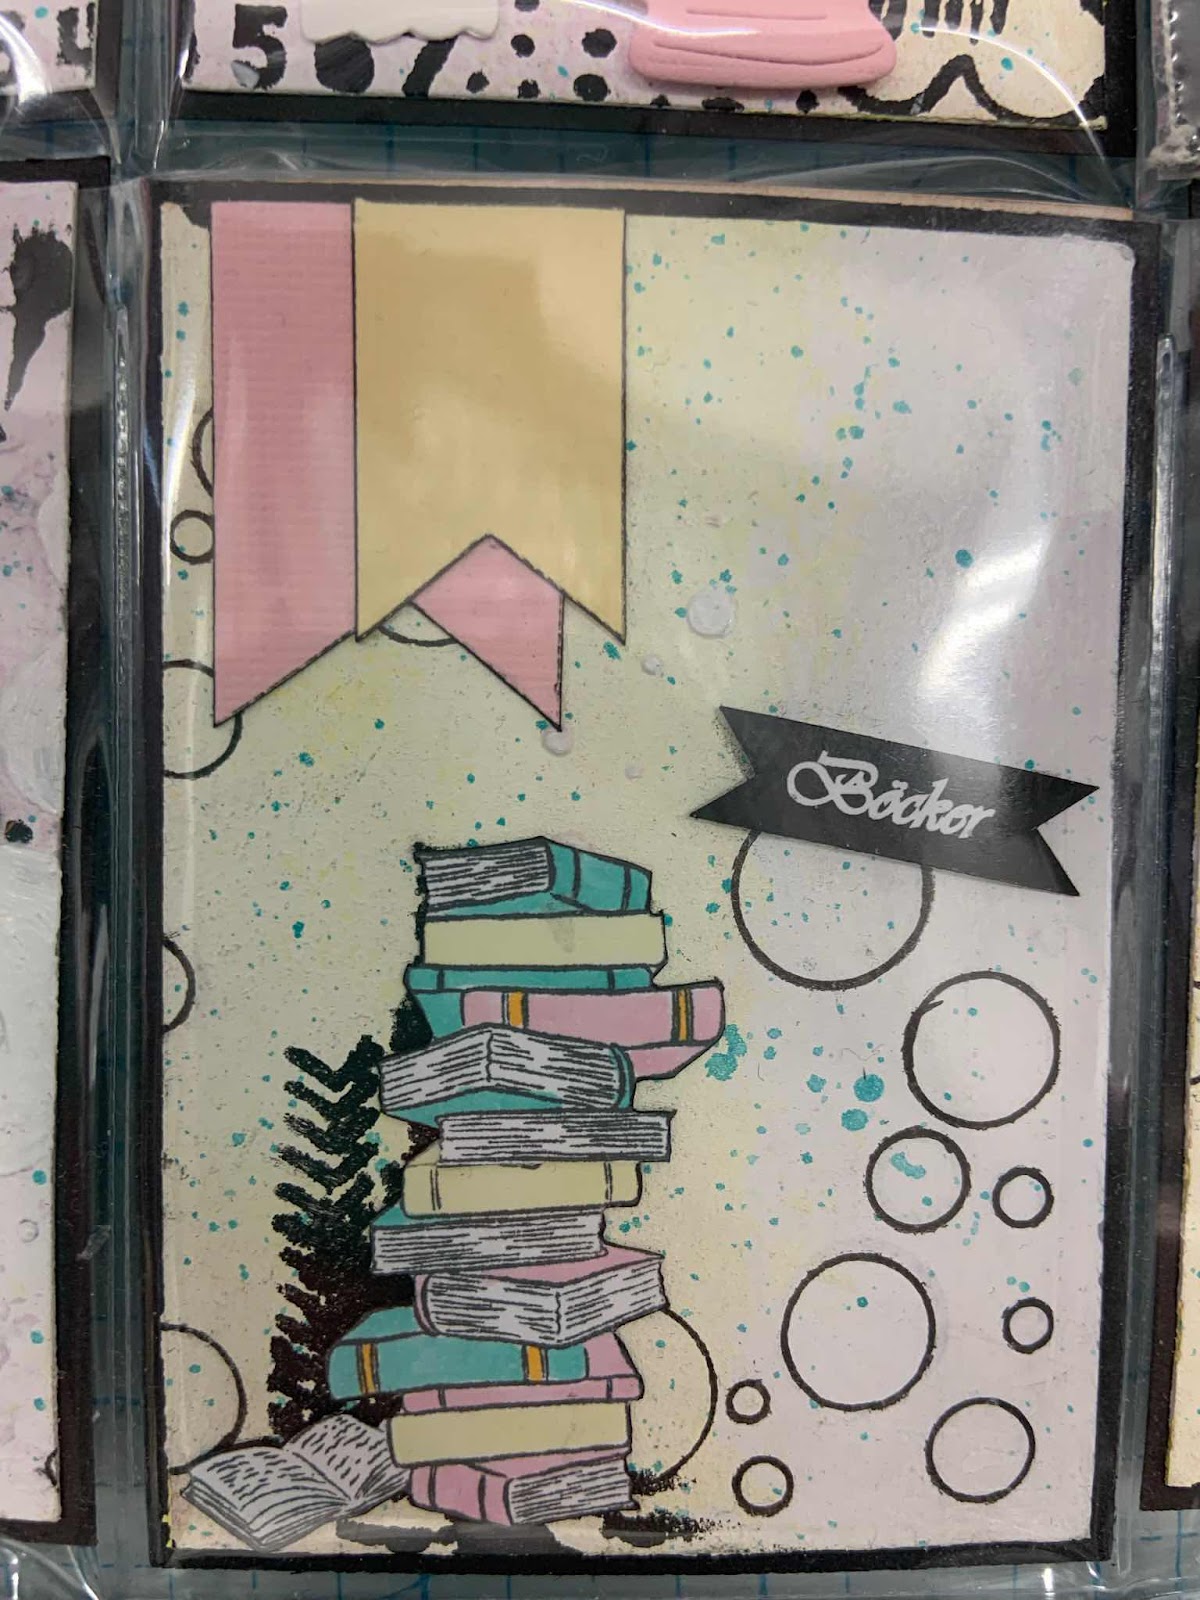
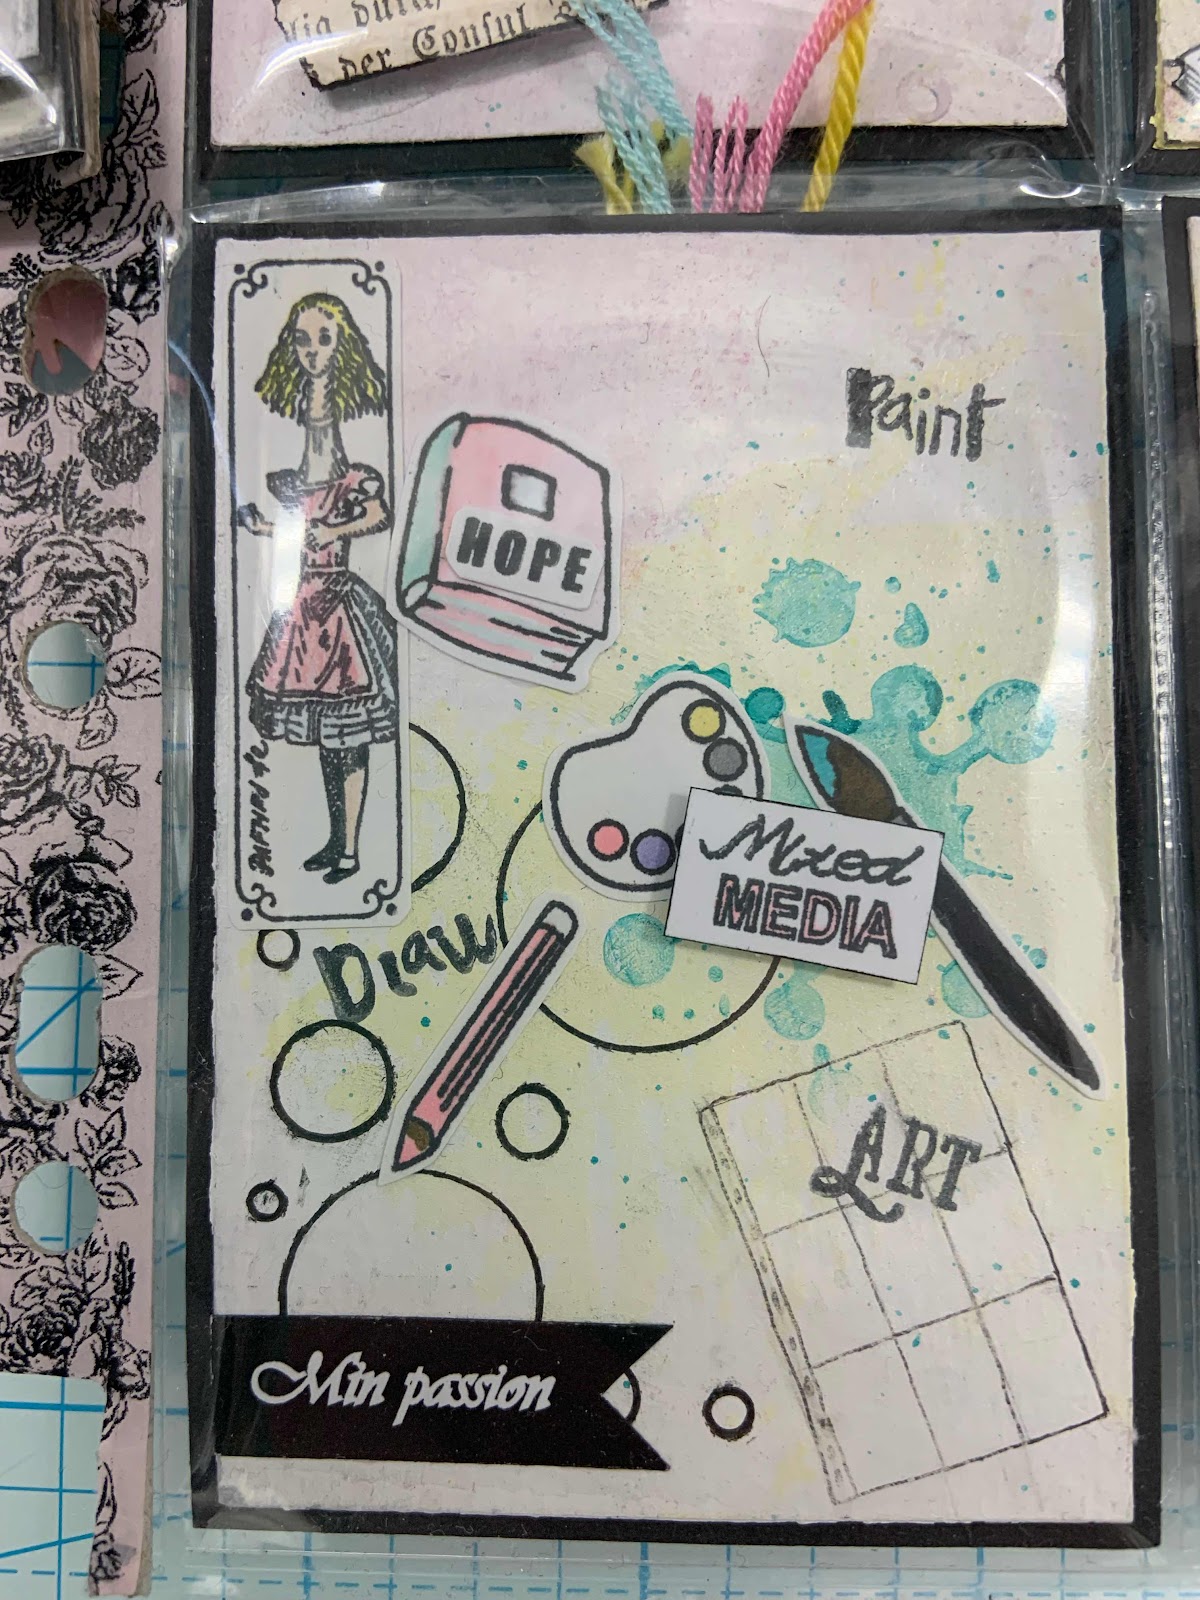
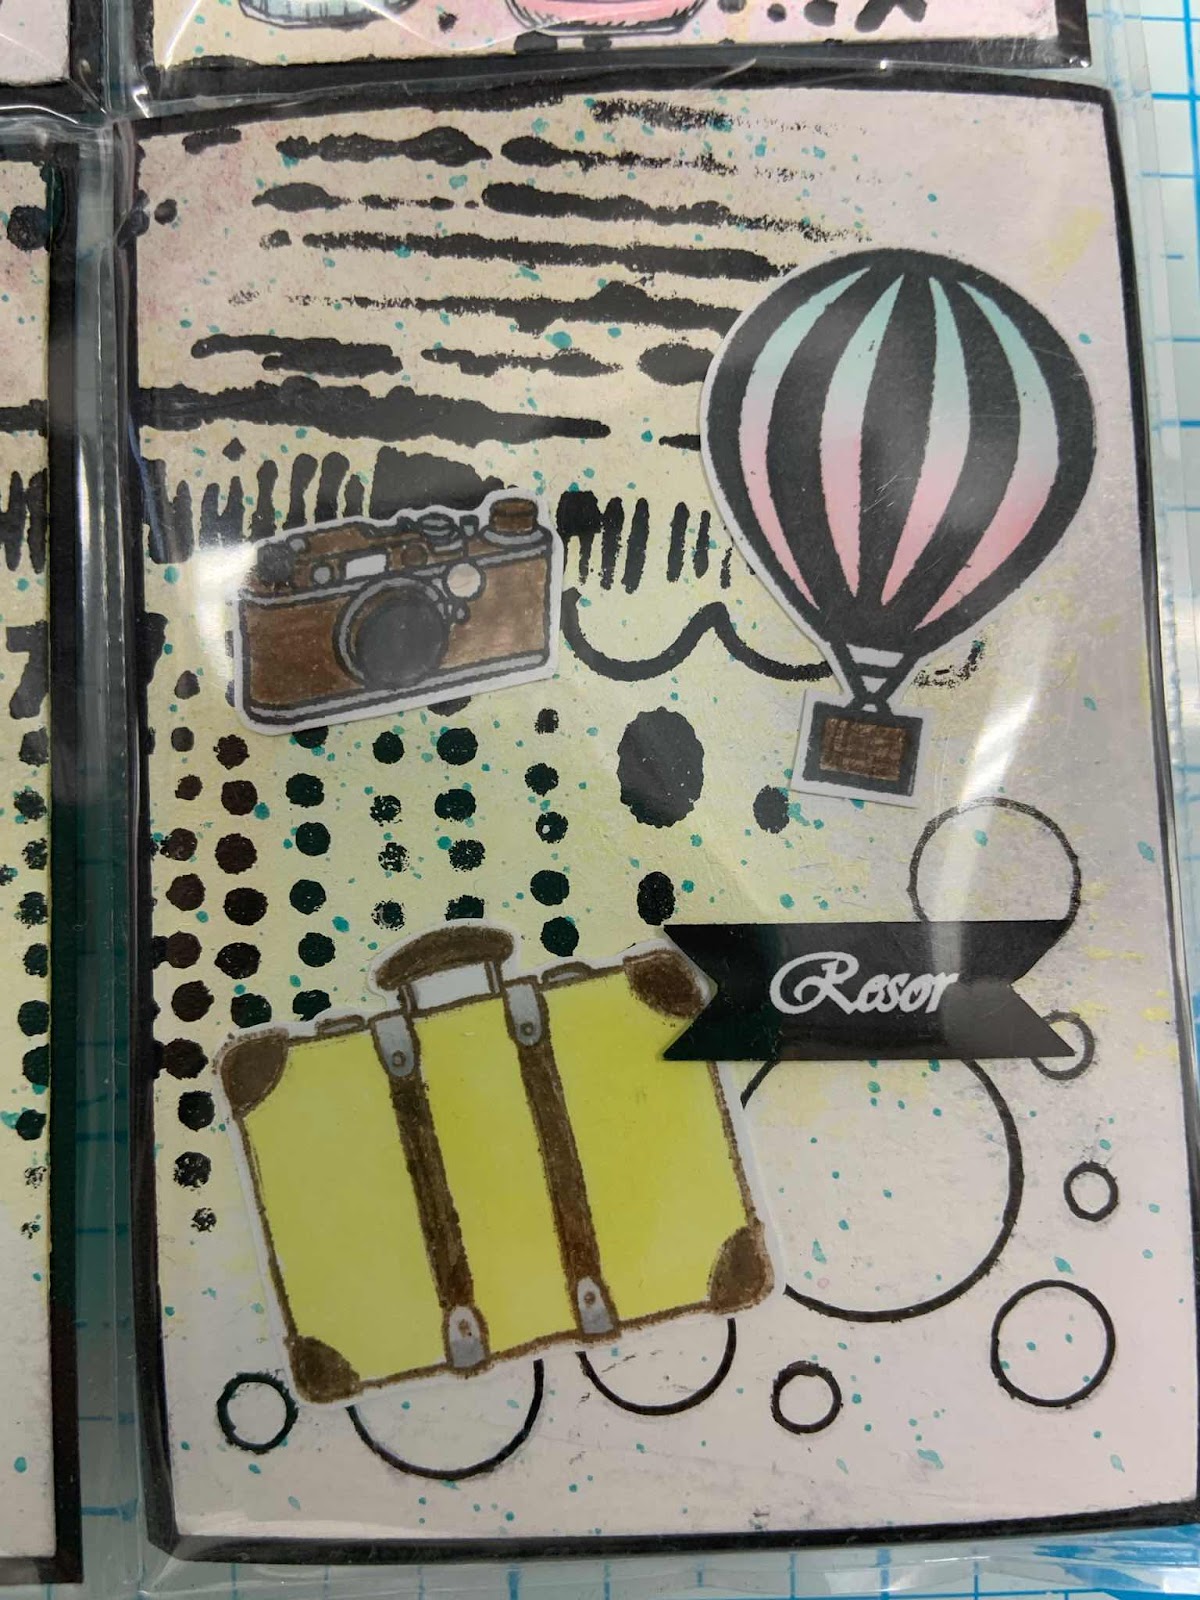
Jag tänkte passa på och visa ett pocket pocket letter som mottagaren nu har tagit emot. Vi valde att swappa ett ”All about me” PL och det var så kul att göra detta. Jag hade så roligt medan jag skapade mitt PL och började med att göra en mixed media bakgrund för alla fickorna på akvarell papper i A4 storlek. Men i mitt skapande så insåg jag att jag behövde mer plats än de nio standard fickorna så jag lade till tre extra 🤪. Efter att bakgrunden var klar så klippte jag till A4 pappret till storlekarna för att passa i de nu tolv fickorna. Men nu var det dax att dekorera samtliga fickor med info om mig själv. Jag skrev ut en del grejer och skrev för hand en del. Jag använde stämplar och foton samt washi-tape. Men nu till fotografier på skapelsen, ni kanske kan få lite inspiration 🌸

Hi all wonderful blog readers and Merry Christmas!
I thought I'd take the opportunity to show a pocket letter I've made that my friend has recieved . We agreed to swap an "All about me" PL and I had so much fun making this one. I started to make a mixed media background for all of the pockets on A4 sized water color paper, but in the middle of my creativity I realized I needed more space for my information so I added tre more pockets 🤪. Once my background was done I cut my A4 paper down to right size for my twelve pockets. And now it was time to decorate all the pockets with information about me, myself and I. I printed some of the information  and hand wrote some. I used stamps and pictures as well as Washi Tape, But now lets look at some pictures of this Pocket Letter, I hope you can find some inspiration 🌸


Nu kommer närbilder på alla fickor 💖 först kommer de tre extra fickorna:

Here is some close-ups for each pocket 💖 first out is the three extra pockets:


På baksidan finns lite information om Sigtuna vilket är kommunen jag bor i, mitt brev och i kuvertet med ”me, myself and I” ovanför kuvertet innehåller en lista på vad samtliga fickor berättar.

On the backside of these three pockets is first of some information about Sigtuna which is the municipality I live in, my actual letter and the last pocket with the envelope with text "me, my self and I" and the text "Read me first" contains a list with all the pockets stories. 

Nu till de nio standard fickorna med start i vänstra hörnet:

Now lets look at the nine regular pockets starting at the top left corner:


Översta radens sista ficka fick en liten flip sida: 

The top right pocket got a little flip pocket:


Men här finns det en liten överraskning, bakom fotona på mina älsklingar finns en liten tag:

But here is a litte suprise, once removed from the pockets, behind my lovlies they each have a small tag:


Eller är de så små…

Or are they so small...


På tagsen står lite information om mina små älsklingar.

The tags contains information about each of my lovelies.

Mitten radens fickor:

Now for the middle row pockets:


Och så nedersta radens fickor:

And the last row of pockets:


Och nu till baksidan på standard fickorna:

And here is the backside for the original nine pockets:


Tack för mig och återigen önskar jag er en riktigt God Jul🎄 

Thanks for me and once again I Wish you a Merry Christmas🎄

20211003

Coworker leaving card

För någon vecka sedan lämnade min kollega min arbetsplats för nya äventyr närmare hemmet. Självklart ville vi samla till en liten gåva och jag erbjöd mig att skapa ett kort. Jag gjorde ett enkelt kort men blev nöjd med det och kollegan uppskattade det.

About a week ago one of my colleagues left my workplace for new adventures closer to home. Of course we wanted to collect a for a littel gift and I offered to create a card. I made an easy card but I was happy with it and my colleague appreciated it. 


Jag använde mönsterpapper, spets, band och blommor. Jag använde Maja Design papper från Vintage Summer Basics i blåa toner. Jag använde tre olika paneler och distressade dem med min Tim Holtz Distress tool. På den sista panelen limmade jag en spets som jag fäste runt på baksidan innan jag limmade fast panelen på den andra. Jag valde en spets och ett blått sidenband som jag fäste efter att jag knutit en rosett. Texten skrev jag ut på min dator som jag sedan fäste lite under rosetten. Som avslutning dekorerade jag med lite olika blommor i vitt och blått.

I used a patterned paper, some lace, a ribbon and some flowers. The paper I used is an old Maja Design paper from the Vintage Summmer Basics collection in blur tones. I used the different sized panels and I distressed them with my Tim Holtz Distress tool. On the last panel before glueing it down I put a lace and secured it to the back of the panel. I chose a lace and a blue ribbon and tied a bow and glued it to the front over the lace.I printed the text on my computer and glued it a little bil under the bow. For last I decorated the card with some flowers in white and blue.

Glad höst på er alla 🍁

Happy Fall to you all 🍁

20210919

Halloween mini mini album

Idag tänkte jag visa ett mini album jag har gjort till en av mina absolut bästa vänner. Albumets bas är återvunnet och nytänkande utifrån toalettrullar och en gammal kartong. Jag har använt papper från Digital Collage Club. Jag hade jätte roligt när jag skapade albumet då jag testade några nya roliga pop-up grejer jag hittat på Youtube. Totalt använde jag sex toalettrullar som jag spritade och torkade innan jag målade dem svarta. Till alla flapparna och tug-spotsen använde jag svart cardstock och en Edge die som jag sedan distressade med fingrarna. Men nu till lite bilder och tillhörande text samt en video 🙂

Today I'm showing a mini album I made to one of my best friends- The cover for the album is from a recycled cardboard box and the base pages are disinfected toilet paper rolls. The papers I used are from Digital Collage Club I love this site and I chose life time acess because Tina has so many fabulous downloads and there is alot of inspirational videos with her materials. I hade a lot of fun creating this album, I tried some new fun pop-up fixtures that I found on YouTube. I used a total of six disinfected toilet paper rolls that I painted black I also painted the cardboard box cover black. For the flip pages and the tug spots I used black cardstock and on some of them I used an edge die and I distressed them with my fingers. But now lets look at some pictures with matching textexts and lastly a YouTube video with a flip thru of the album.


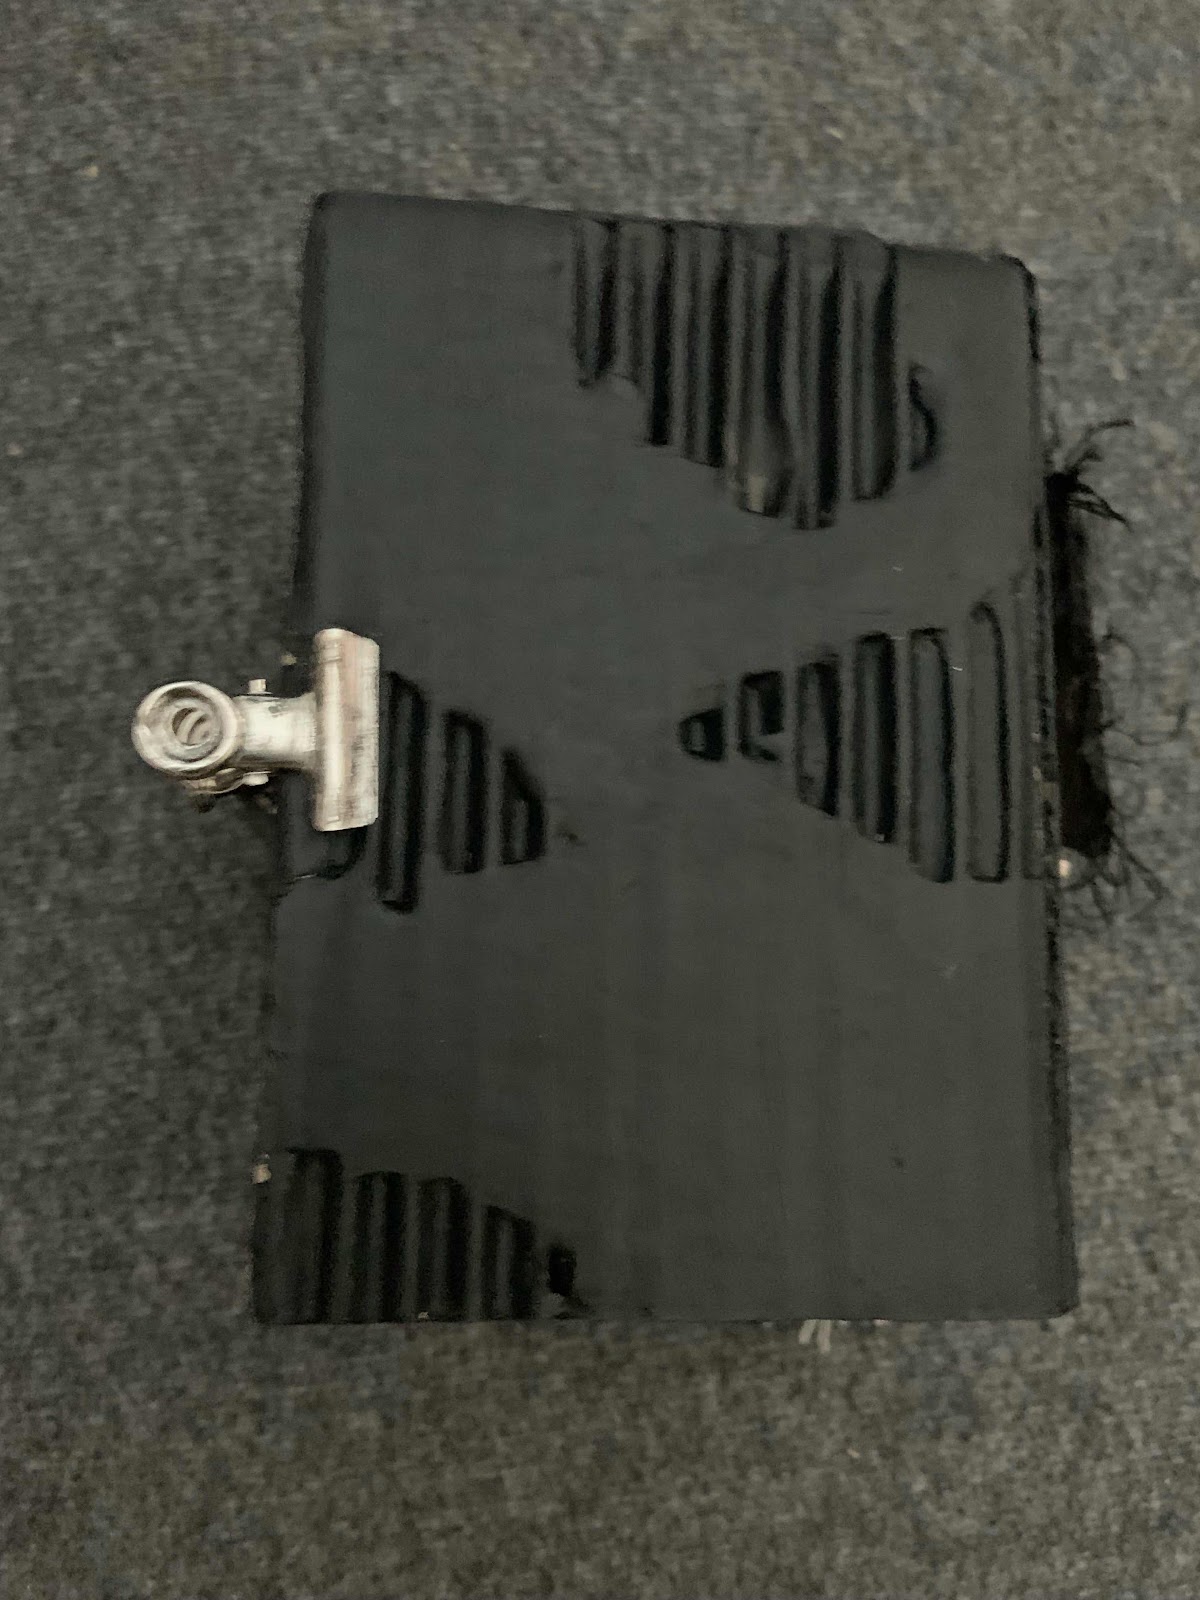
Bokomslaget är gjort av en del från en gammal kartong. Jag rev av det yttre pappret på olika ställen på kartongbiten innan jag målade den med svart gesso. På framsidan satte jag en magnet och som jag dolde med papper för att kunna placera den underbara IT clownen inuti en lite låda med magnet på baksidan. Den kan tas av och kanske användas som magnet på kylskåpet 🤔. 

The cover is piece from a recycled bigger cardboard box like I said in the first text. I tor off the outer paper on different places before I painted it with black gesso. On the front I placed a magnet that I then covered with patterned paper so I could place the lovely IT clown that placed in a box with a magnet flipped to the matching side to the front cover one. Maybe it can be removed and used as a magnet for the fridge 🤔.


Så här ser albumet framsida ut när IT clownen är borttagen.

This is how the front of the album looks with the box removed.


En liten zoom in på clownen som är skapad med lera i en egen skapad mold. Jag målade honom med akrylfärg och hans hår skapade jag med rött garn 🧶 som jag kammade. Jag modifierade originalet lite genom att dra upp hans mungipor. Hans pratbubbla klippte jag förhand och texten är stämplad med mitt favorit stämpelset från Artemio. Även ballongen klippte jag förhand och den är målad med akvarellfärg. Lådan vek jag på frihand och klippte ut ett fönster som jag satte plastfilm i. Pappret på insidan är från samma pappersserie som hela albumet. Som sista steg limmade jag in IT clownen så han tittar ut med sitt breda leende.

Lets zoom in on the clown that I created with the help from a home made mold and some air dry clay. I painted him with some white acrylic paint and I made his hair from some red yarn🧶that I combed. I did modify the molded version a little by pulling up the corners of his mouth. For the speach bubble i first stamped the text with my favorite alphabet stamp set from Artemio and then I cut it by free hand. I also cut the baloon by free hand and the I painted it red with acrylic paint. I cut and folded the box by free hand of some black cardstock and then I added an accetate window in the front. I covered the inside with the wonderful paper set I used in the album. The last step was to glue the It clown inside the box looking out smiling wide. 


På ryggen av bokomslaget punchade jag ett hål och sedan skapade jag en charm. Jag använde en liten kartong bit och domino bilder från pappers serien. Jag hade Glossy accent på domino bilderna som finish. Mellan bilderna (en på fram och en på baksidan) limmade jag svart fransgarn och i längst ner fäste jag en charm i form av en häxhatt. 

I punched a hole at the top of the spine and the I created a charm. I used a small piece from the cardboard box and two domino picture from the papper set. I put Glossy accent on top of the domino pictures as a finisking touch. Once the Glossy accent was dry I glued som black fringe yard to the back of them and then glued the pictures to the cardbord box pice. I placed a small charm with a witch hat at the bottom of the cardboard box charm.


Baksidan valde jag att lämna utan dekorationer för att synliggöra strukturen.

I didn't decorate the back because I wanted to make the structure more visible.


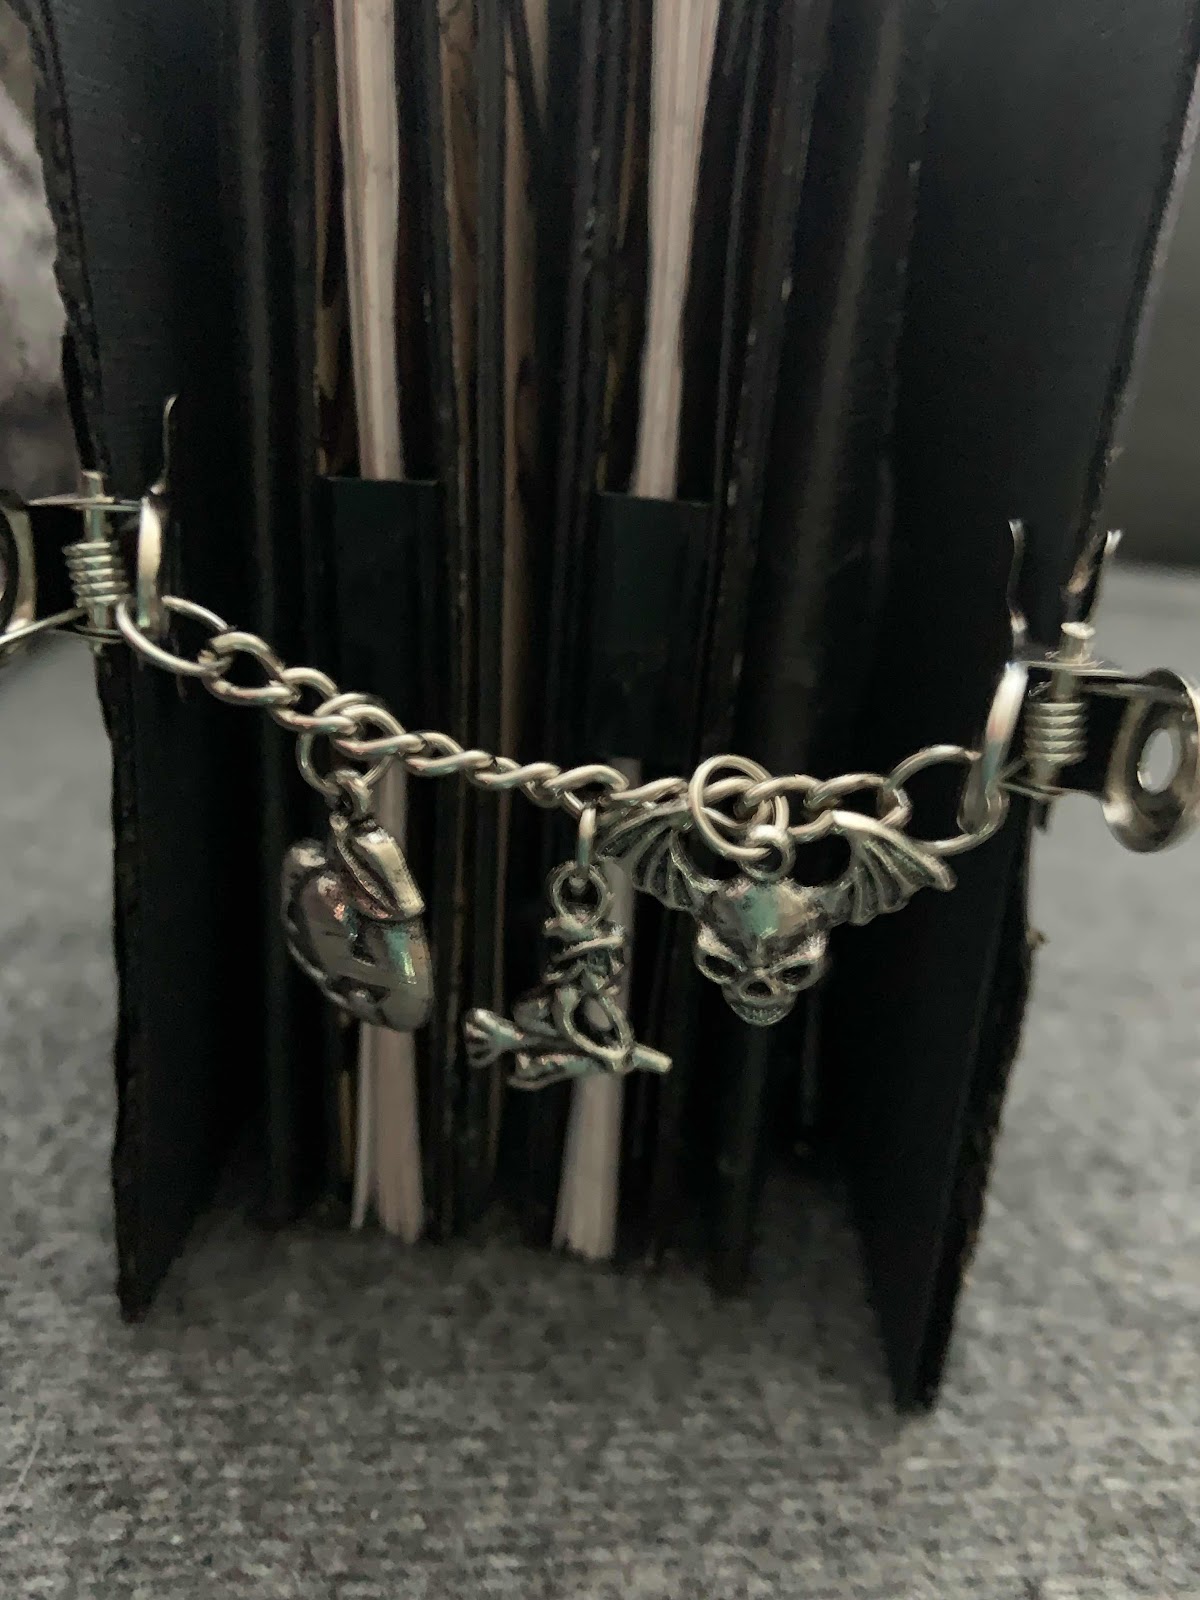
Som stängning  använde jag klämmor som jag hade disressat med AlcoInks.  Kedjan mellan klämmorna  har fyra olika halloween 🎃 charms.

I used two clips that I hade distressed with AlcoInks with a chain between with four halloween 🎃charms as closure.

Jag filmade en bläddring av albumet men insåg i efterhand när jag redan hade laddat upp videon på YouTube att jag missade en av pop-up sidorna. Den har ett pop-up hus med ett lite läskigt tråd från Tim Holtz Frightful Things thinlits die  på sidan. Men alla de andra är med så jag hoppas ni kan få lite inspiration.

I made a video with a flip thru of the album but after I was done loading up the video to YouTube I realized that I had missed one of the pop-up pages. I has a house that pops-up with a scary tree from Tim Holtz Frightful Things thinlits die on the side. But all the other pop-up pages are in so I hope you can find some inspiration.


Kram Lillian

Hugs Lillian

20210918

Mini Pocket letter

Jag är medlem på Pocket Letter Pals skapat av Janette Lane 2015 och boy oh boy vad kul det är att vara med där. Det finns många olika event och man kan hitta brevvänner från hela världen. Det kostar en slant att vara med men för mig var det självklar med ett lifetime medlemskap.

I'm a member at Pocket Letter Pals created by Janette Lane 2015 and oh boy how much fun it is to by a part of it. There is a lot of different events and you can find pen pals from all over the world. It costs a few pennies to join, but for me it was obvious with a lifetime membership.

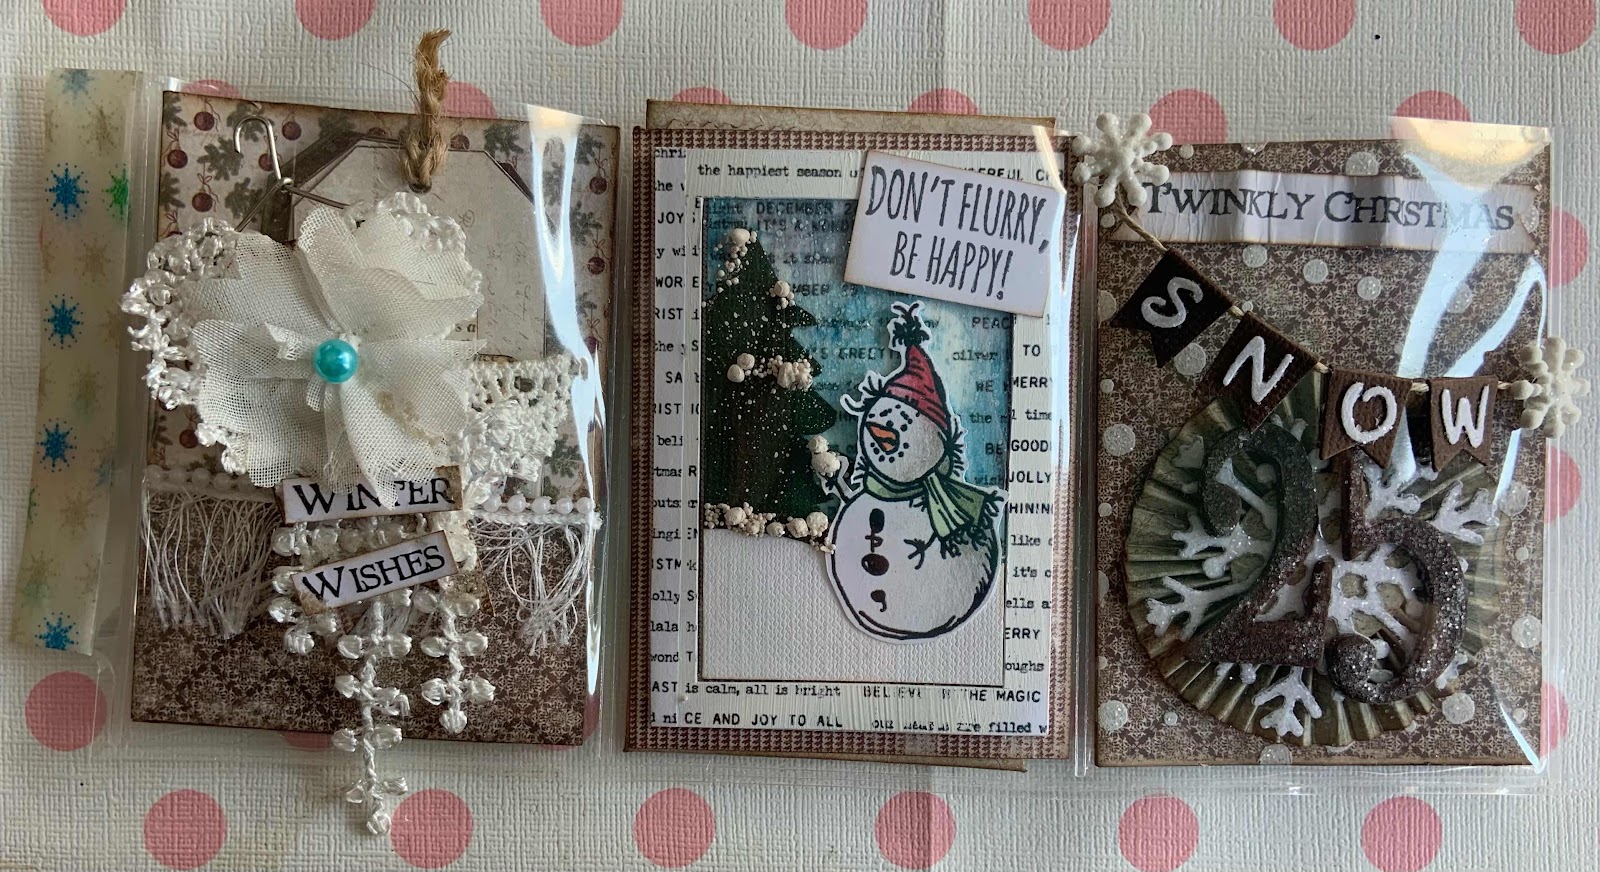
Hur som helst så vill jag nu visa ett Mini pocket letter för eventet Christmas in July som jag skapade till min swappartner. Lite sent upplagt men ville visa det i alla fall. Jag visade tidigare mina egna skapade snögubbar och i mitt PL är den med på ett ATC kort som skulle ingå i denna swap. 

Anyway I want to show a mini pocket letter I created for my swap partner in the Christmas in July event. It took me a while to get it up hereon the blog but Ihere it is. In my earlier blogpost I showed som snowmen I drew and one of these found a place on an ATC card that was to be included in this PL swap.


Trots att det vara är tre fickor i ett mini PL så var det såååååå roligt att skapa vardera fickas innehåll och de är full packade. En hel del mixed media blev det vilket jag bara älskar och ett av de åtta ATC korten är självklart med 👍🏻.

Even though its only three pockets in a mini pocket letter it was soooooo much fun to create every pockets content and they are fully packed 👍🏻.


På framsidan utanpå första fickan är ett altrat gem. Jag började med att bända om gemet till en galge för att sedan dekorera den med olika spetsar och en liten text.

On the front of the first pocket is an altered paper clip. I started by refolding the paper clip to the form of a hanger and then I decorated it with different laces and a small text.


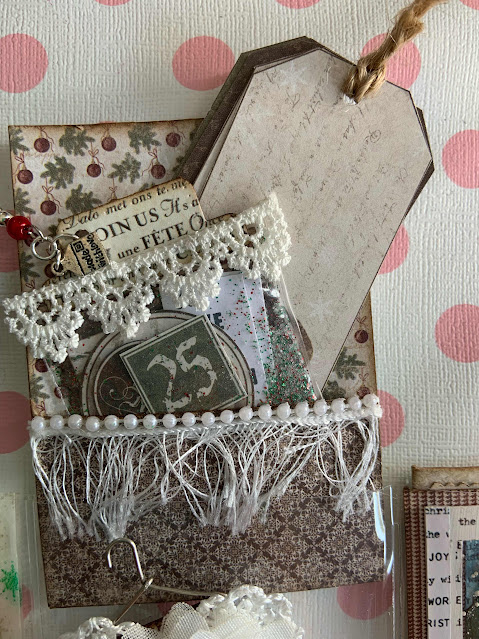
På baksidan har jag så klart gåvorna och brevet i vanlig ordning men det finns en överraskning på framsidan som jag visar strax. Men en av gåvorna är en egen skapad flair button. Jag punchade ut en cirkel från samma pappers serie som användes på de två fickorna exklusive ATC. Brevet är bakom ATC och det som håller kuvertet/brevet stängt är ett altrat gem. 

On the backside is the small gifts and the letter off course but there is a little surprise on the front that I'll show next. But one of the gifts is in the pocket to the left is a flair button I made my self. I punched a circle from the same paper serie I used in the first and third pocket. The letter that hides behind the ATC card id held closed by an altered paper clip.


Den lilla överraskningen på framsidan. 

Here is the little suprise in the first pocket on the front.

Hoppas ni fann lite inspiration från mitt jul PL och att er lördag blir fantastisk 🌸

I hope you could find some inspiration from my Christmas PL and that your Saturday is amazing🌸


20210807

Christmas ATC

Äntligen har jag blivit klar med mina Christmas ATC inför min mini Christmas pocket letter swap. Jag har ritat snögubben själv samt mallen för granen. ”Snö” kullen har jag bara klippt en lite kurva på ett vitt cardstock. Jag använde art stones både liten och mellan och jag stänkte med vit akvarellfärg. Jag har även strött glitter på den blå bakgrunden innan färgen torkade.

I have finally finished my Christmas ATCs for a mini Christmas pocket letter swap. I drew the snowman by hand  as well as the tempate for the fir.. I just cut a little curve for the little snow hill. I used some art stones both small ones and meduim sized one and I splashed some white acrylic paint. I also sprinkled some glitter before the background color dried.  


Text stämpeln kommer från set jag har köpt på Wish:

The text is from a stamps and die set I bought from Wish:


Snart är semester slut men jag hoppas på att hinna bli klar med mitt mini Christmas pocket letter innan måndag och vardagen tar över 🎅🏻❄️☃️

My summer holiday is coming to an end and I hope to finish my mini Christmas pocket letter before monday and everyday life takes over again 🎅🏻❄️☃️

20210803

Lite Christmas in August 🧑🏻‍🎄

Idag har jag färglagt lite med vattenlösliga vaxkritor på 4 CC papper vilket egentligen är för tuschpennor 🙃. Kritorna jag använde påminner om Tim Holtz Distress Crayons men är ”billiga” barn kritor som jag fick av en av mina bästa vänner Johanna 💖. Det var riktigt kul och tanken är det ska bli ett sett med ATC kort inför ett pocket letter där min swap partner vill gärna att ena fickan ska vara ett ATC så då var det bara att sätta igång och skapa en serie 🎅🏻🧑🏻‍🎄. 

Today I've colored a little with my water-soluble wax crayon on some 4 CC paper which actually is for markers 🙃. The crayons I used reminds of Tim Holtz Distress Crayons but they are "cheep" children crayons that I got from my off my best friends Johanna 💖. It was a lot of fun and the plan is to use these for an ATC set. I'm in a mini pocket letter swap and my swap partner wished for an ATC in one of the three pockets so I figured I'll get started with the ATC series first 🎅🏻🧑🏻‍🎄.


Snögubben har jag ritat själv och sedan skannat in för att kunna multiplicera den samt minska den och vända på den. Jag tittade dock på en stämpel som använts på ett ATC av en bloggare som heter Lorraine. Det är en stämpel som hon fått via en tidning.

I drew the snowman myself since I didn't have a snowman stamp in the right size for an ATC if I want to have something more than just a snowman. I scanned my drawing so I could multiply it and get different sizes as well as flipping it. I was inspired by an ATC as well as the stamp on the card that I saw by Lorraine. She got the stamp from a magazine so I couldn't find it to buy it so I drew one instead.