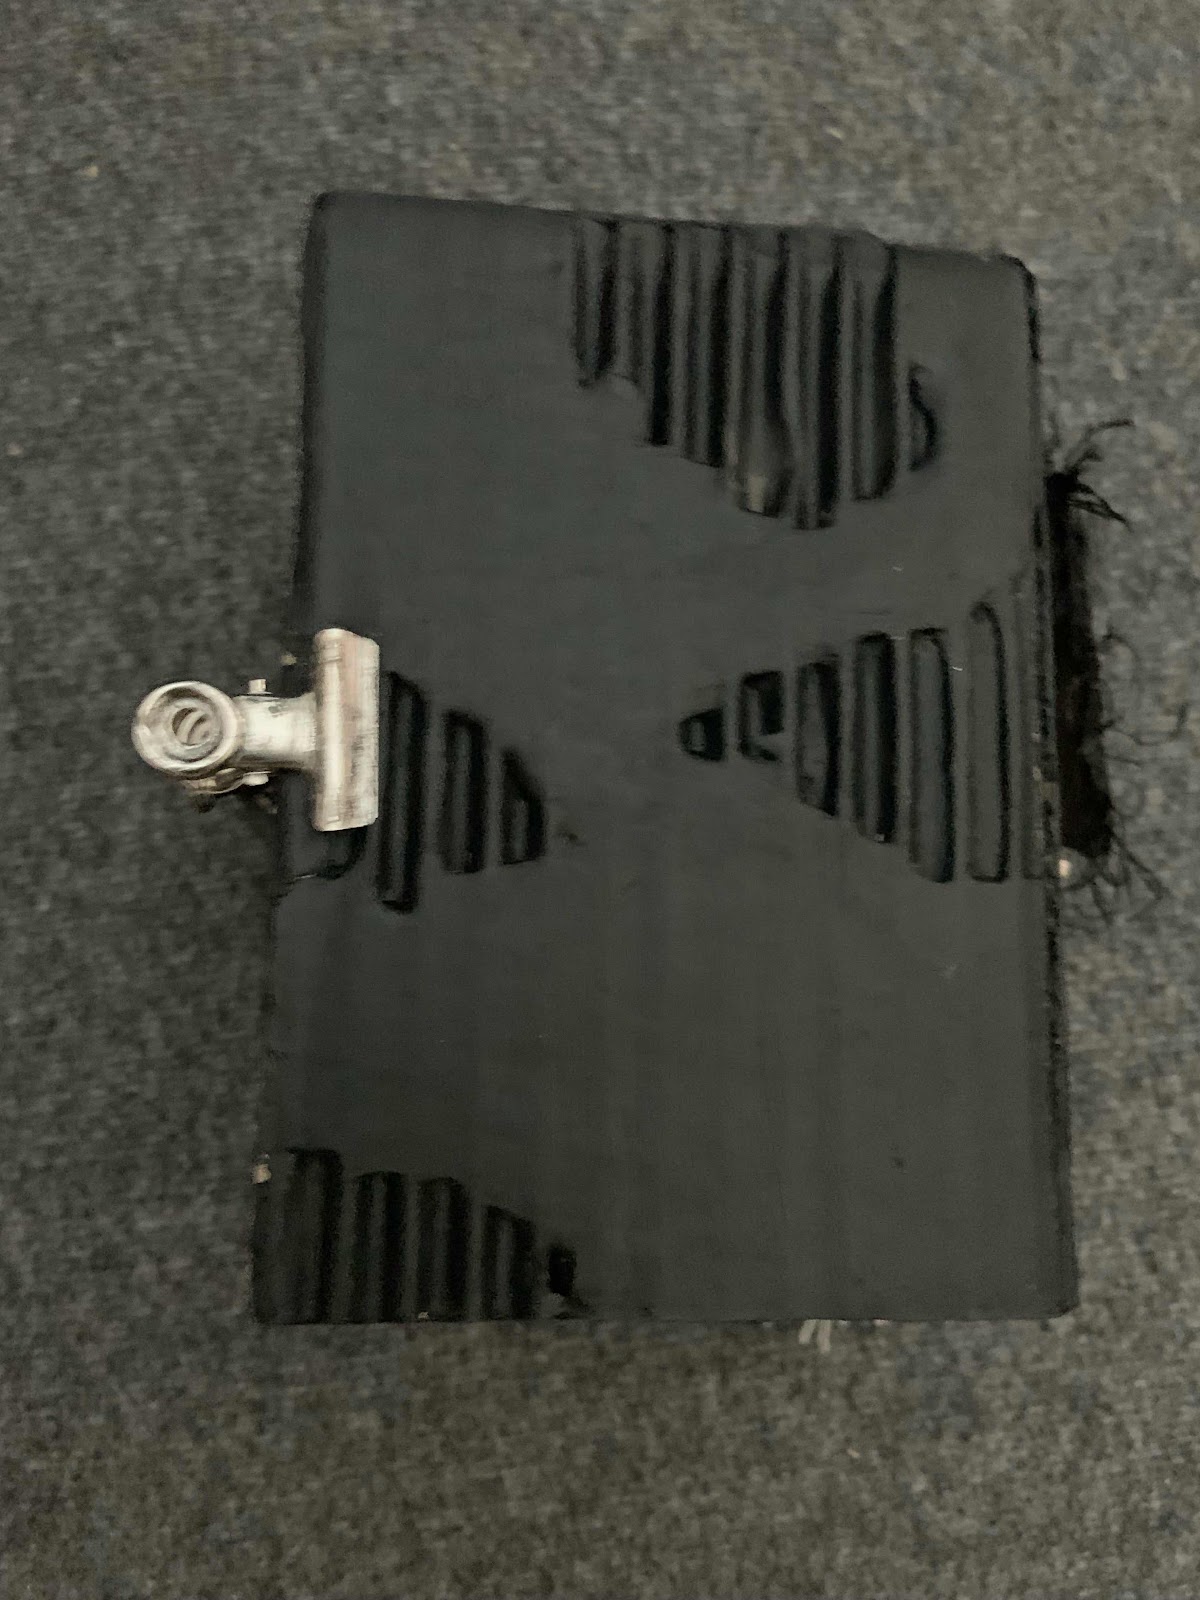
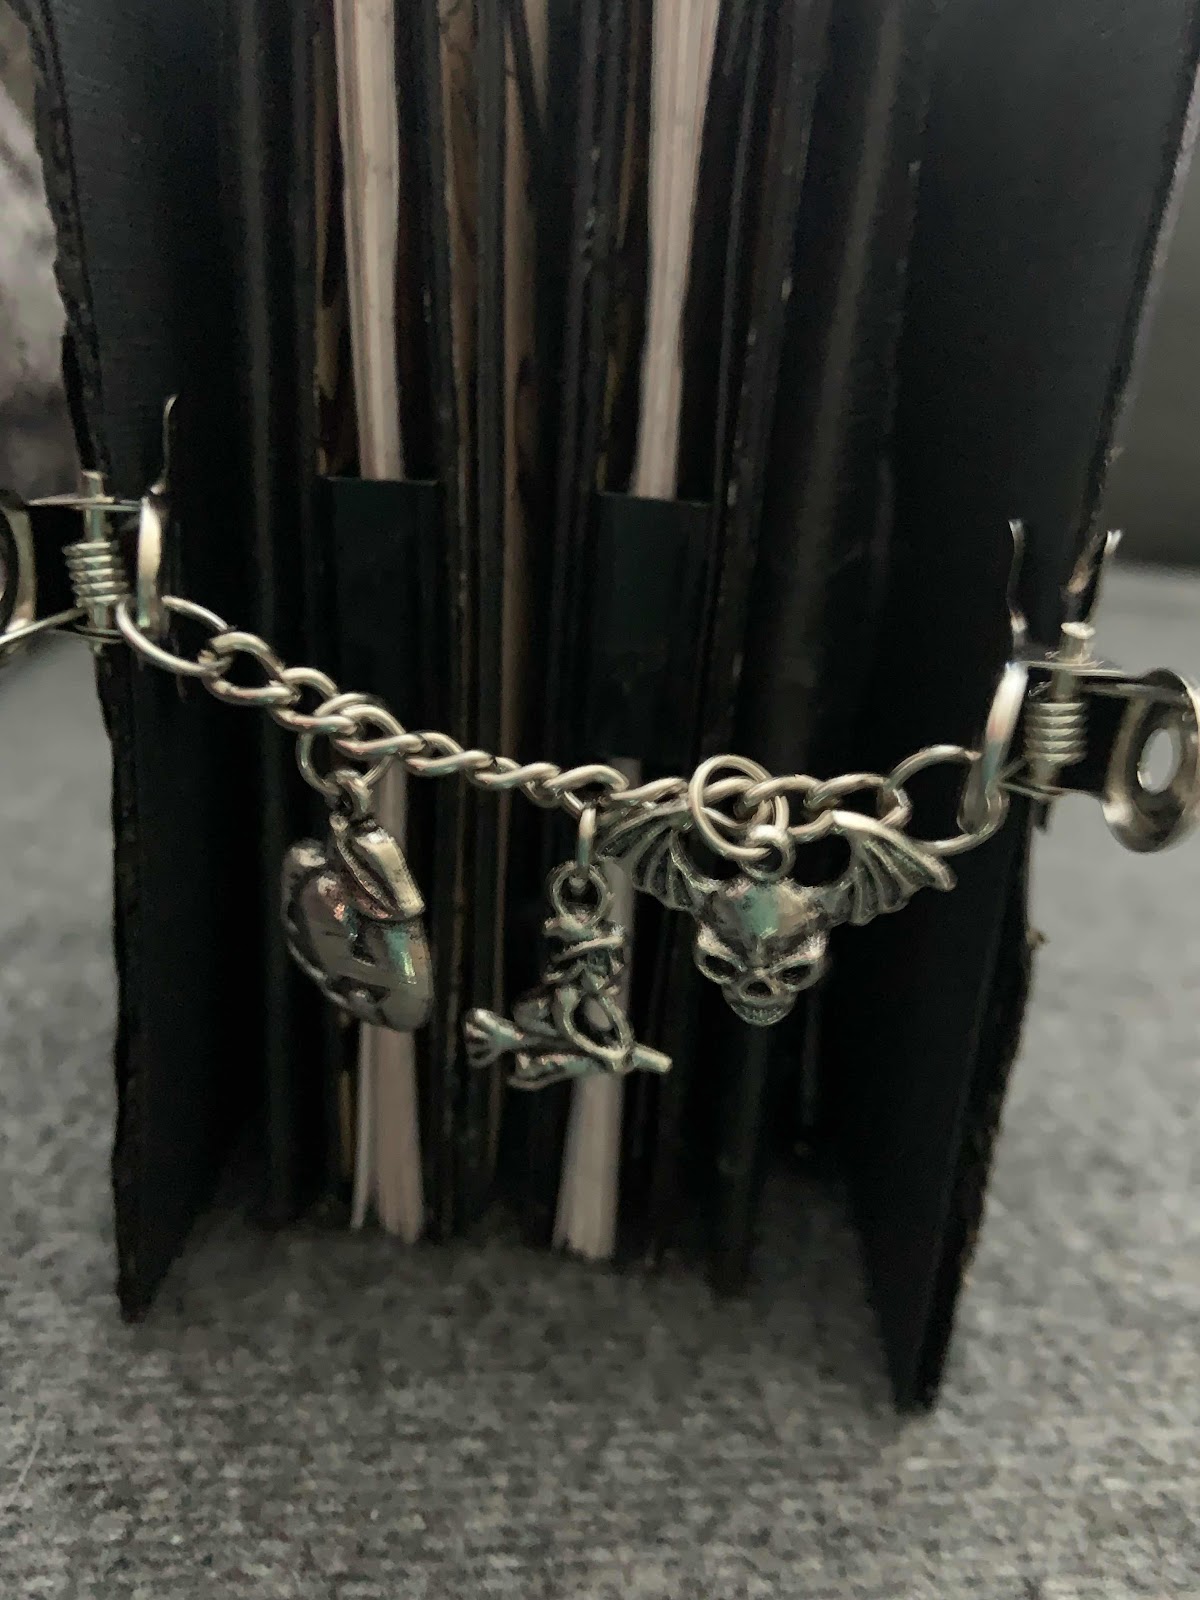
Jag tänkte passa på och visa ett pocket pocket letter som mottagaren nu har tagit emot. Vi valde att swappa ett ”All about me” PL och det var så kul att göra detta. Jag hade så roligt medan jag skapade mitt PL och började med att göra en mixed media bakgrund för alla fickorna på akvarell papper i A4 storlek. Men i mitt skapande så insåg jag att jag behövde mer plats än de nio standard fickorna så jag lade till tre extra 🤪. Efter att bakgrunden var klar så klippte jag till A4 pappret till storlekarna för att passa i de nu tolv fickorna. Men nu var det dax att dekorera samtliga fickor med info om mig själv. Jag skrev ut en del grejer och skrev för hand en del. Jag använde stämplar och foton samt washi-tape. Men nu till fotografier på skapelsen, ni kanske kan få lite inspiration 🌸


Nu kommer närbilder på alla fickor 💖 först kommer de tre extra fickorna:


På baksidan finns lite information om Sigtuna vilket är kommunen jag bor i, mitt brev och i kuvertet med ”me, myself and I” ovanför kuvertet innehåller en lista på vad samtliga fickor berättar.


Men här finns det en liten överraskning, bakom fotona på mina älsklingar finns en liten tag:

Eller är de så små…

På tagsen står lite information om mina små älsklingar.


Och så nedersta radens fickor:

Och nu till baksidan på standard fickorna:

Tack för mig och återigen önskar jag er en riktigt God Jul🎄
Hi all wonderful blog readers and Merry Christmas!
I thought I'd take the opportunity to show a pocket letter I've made that my friend has recieved . We agreed to swap an "All about me" PL and I had so much fun making this one. I started to make a mixed media background for all of the pockets on A4 sized water color paper, but in the middle of my creativity I realized I needed more space for my information so I added tre more pockets 🤪. Once my background was done I cut my A4 paper down to right size for my twelve pockets. And now it was time to decorate all the pockets with information about me, myself and I. I printed some of the information and hand wrote some. I used stamps and pictures as well as Washi Tape, But now lets look at some pictures of this Pocket Letter, I hope you can find some inspiration 🌸
Nu kommer närbilder på alla fickor 💖 först kommer de tre extra fickorna:
Here is some close-ups for each pocket 💖 first out is the three extra pockets:
På baksidan finns lite information om Sigtuna vilket är kommunen jag bor i, mitt brev och i kuvertet med ”me, myself and I” ovanför kuvertet innehåller en lista på vad samtliga fickor berättar.
On the backside of these three pockets is first of some information about Sigtuna which is the municipality I live in, my actual letter and the last pocket with the envelope with text "me, my self and I" and the text "Read me first" contains a list with all the pockets stories.
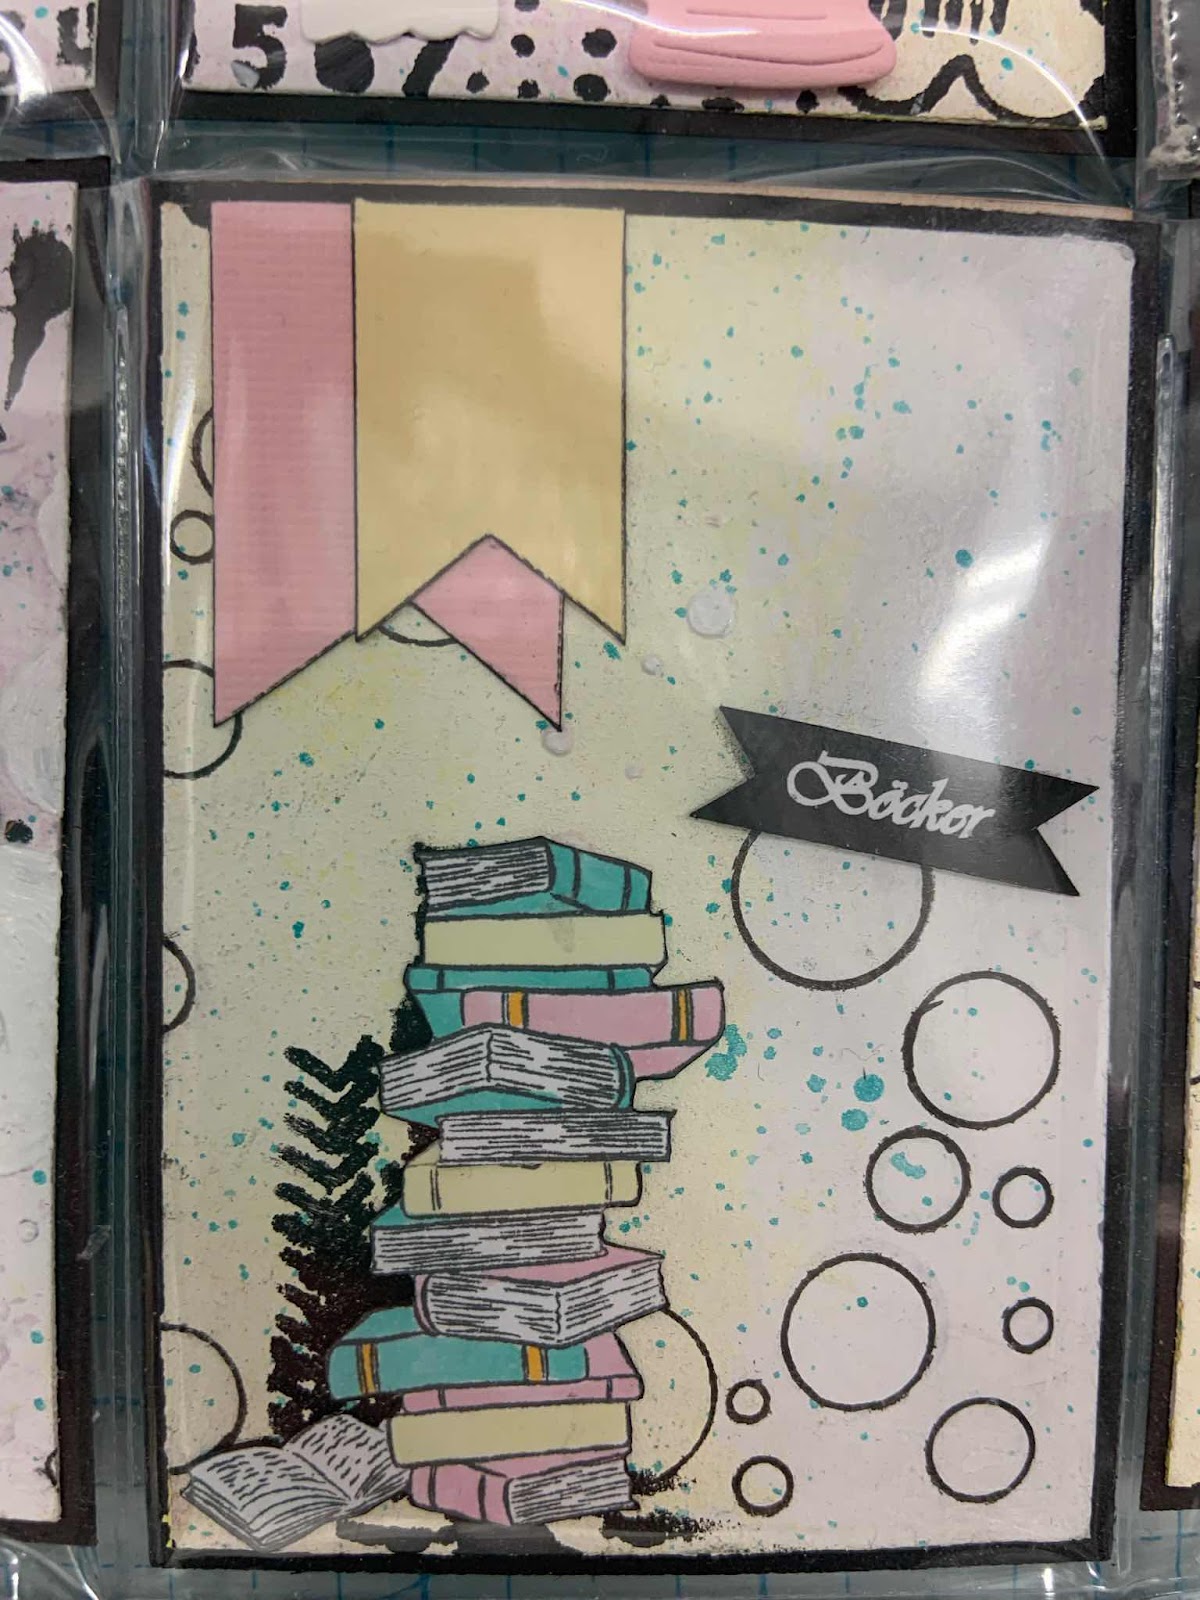
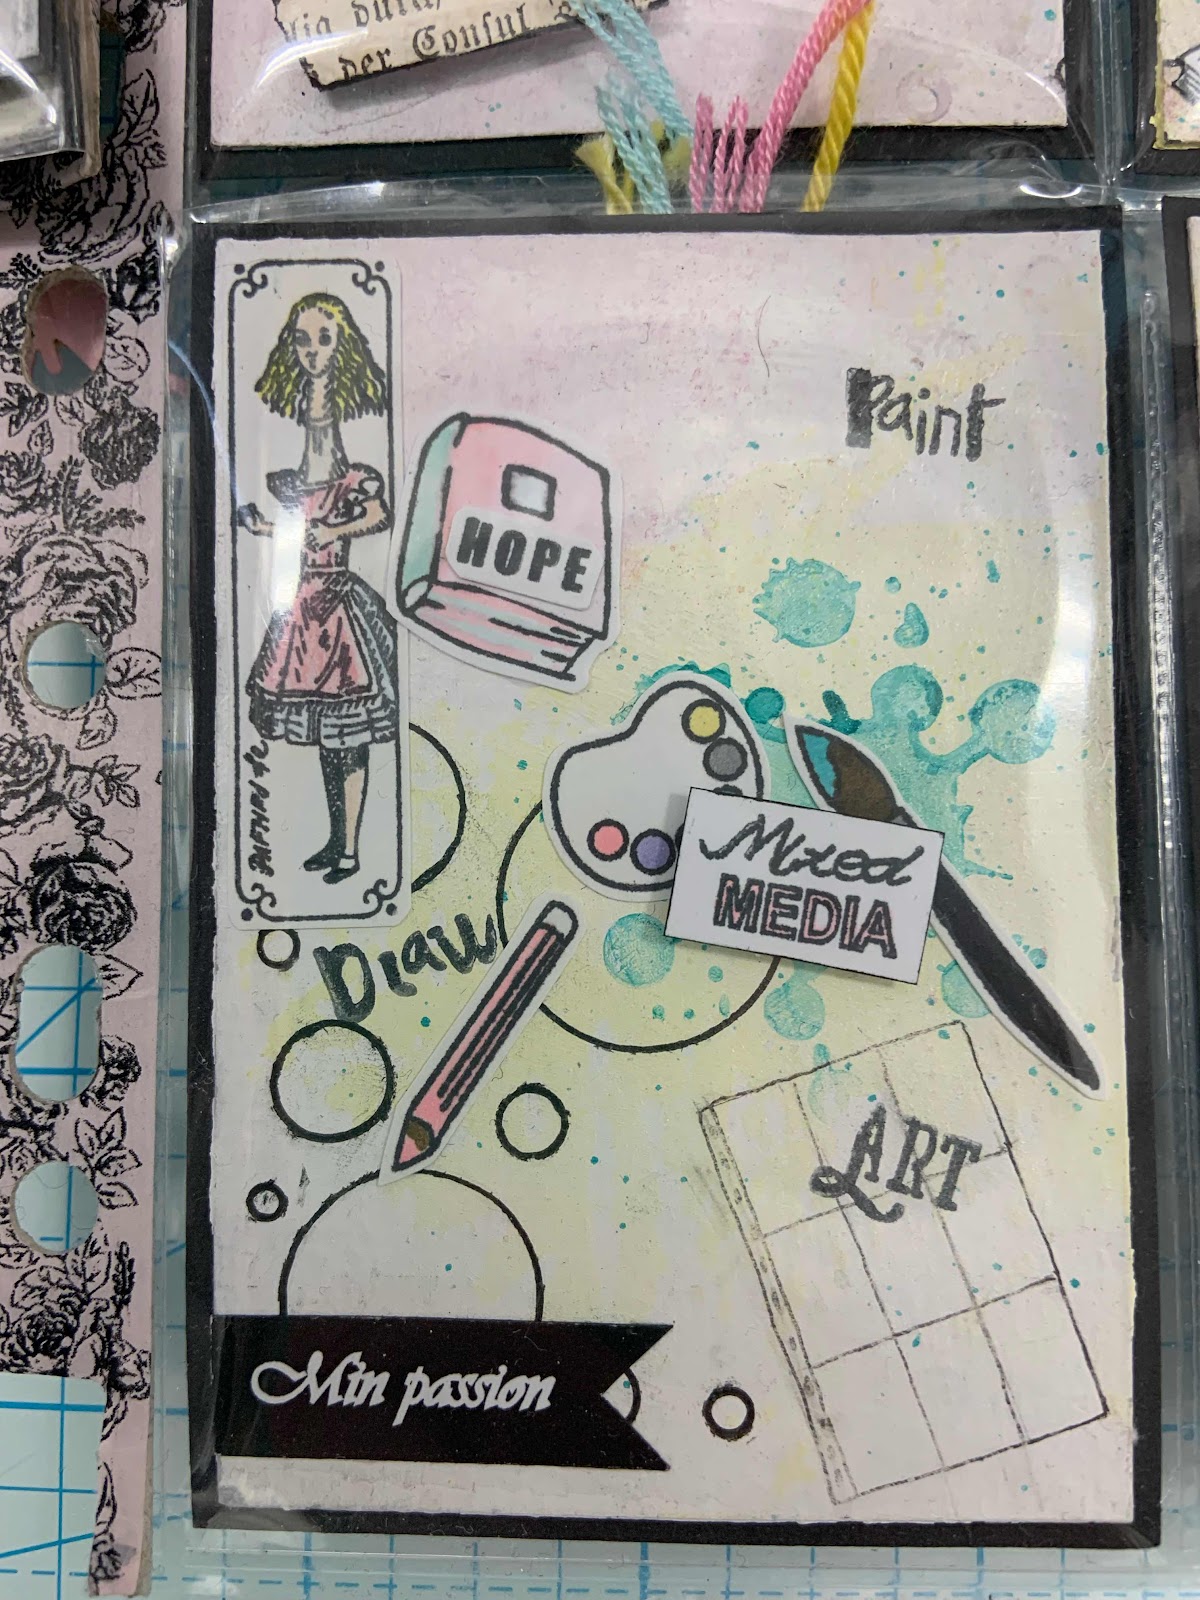
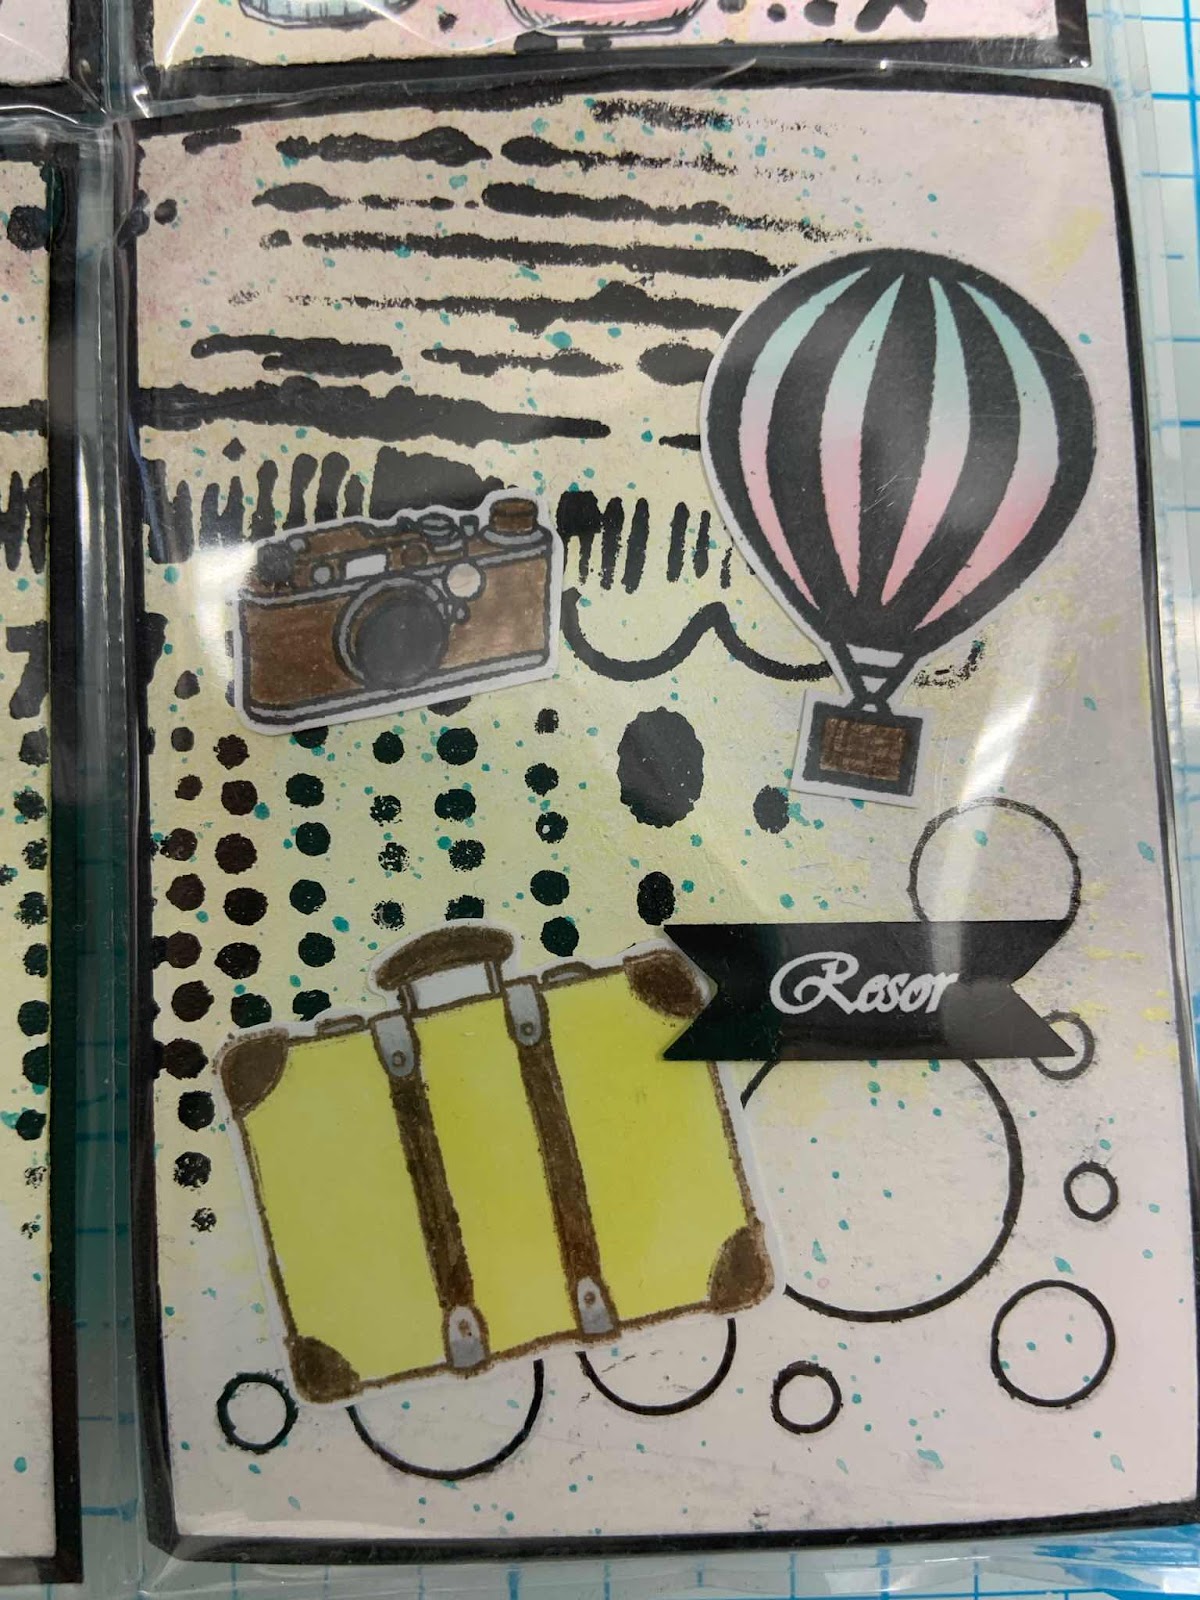
Nu till de nio standard fickorna med start i vänstra hörnet:
Now lets look at the nine regular pockets starting at the top left corner:
Översta radens sista ficka fick en liten flip sida:
The top right pocket got a little flip pocket:
Men här finns det en liten överraskning, bakom fotona på mina älsklingar finns en liten tag:
But here is a litte suprise, once removed from the pockets, behind my lovlies they each have a small tag:
Eller är de så små…
Or are they so small...
På tagsen står lite information om mina små älsklingar.
The tags contains information about each of my lovelies.
Mitten radens fickor:
Now for the middle row pockets:
Och så nedersta radens fickor:
And the last row of pockets:
Och nu till baksidan på standard fickorna:
And here is the backside for the original nine pockets:
Tack för mig och återigen önskar jag er en riktigt God Jul🎄
Thanks for me and once again I Wish you a Merry Christmas🎄